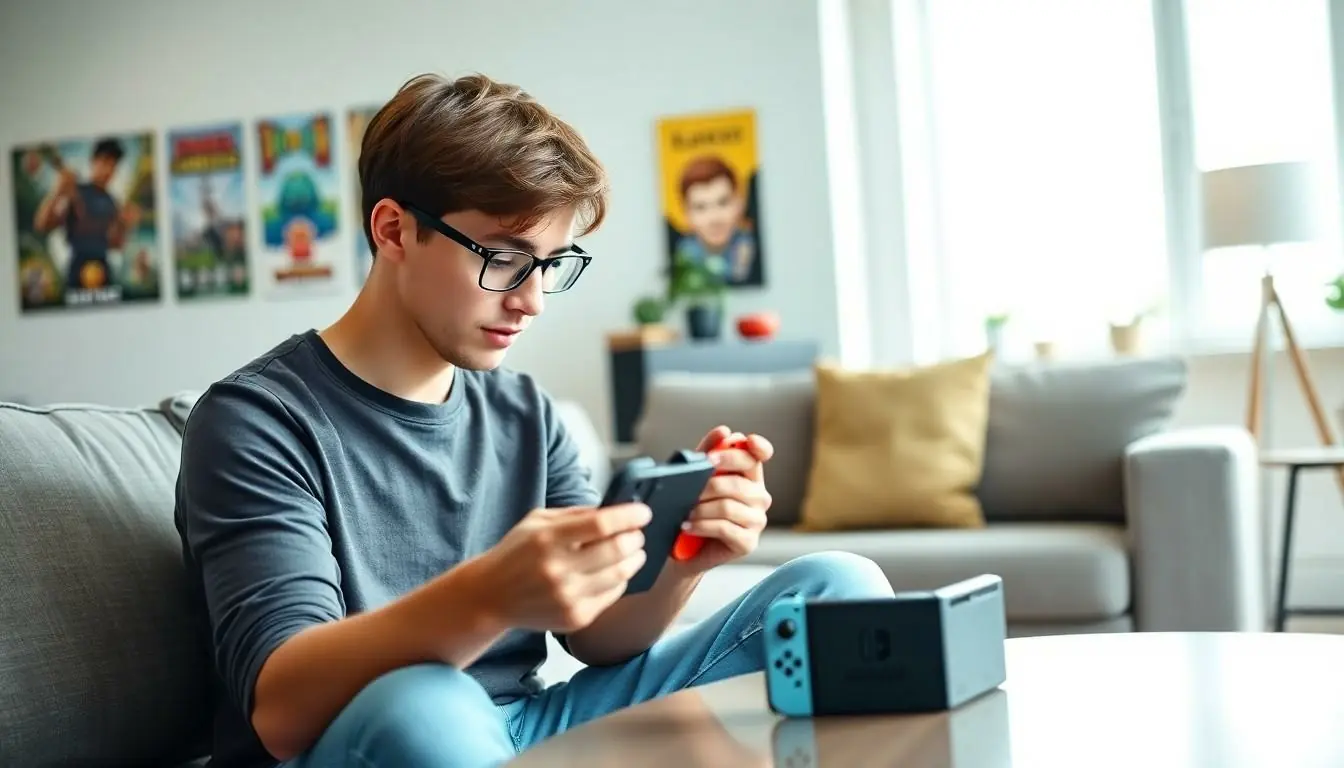
Getting your Nintendo Switch controller synced can feel like trying to solve a Rubik’s Cube blindfolded. But fear not! With a few simple steps, you’ll be back to gaming in no time, and maybe even impressing your friends with your newfound tech skills.
Table of Contents
ToggleUnderstanding Nintendo Switch Controllers
Nintendo Switch controllers come in various forms, each designed to enhance the gaming experience. Choosing the right controller significantly impacts gameplay.
Types of Nintendo Switch Controllers
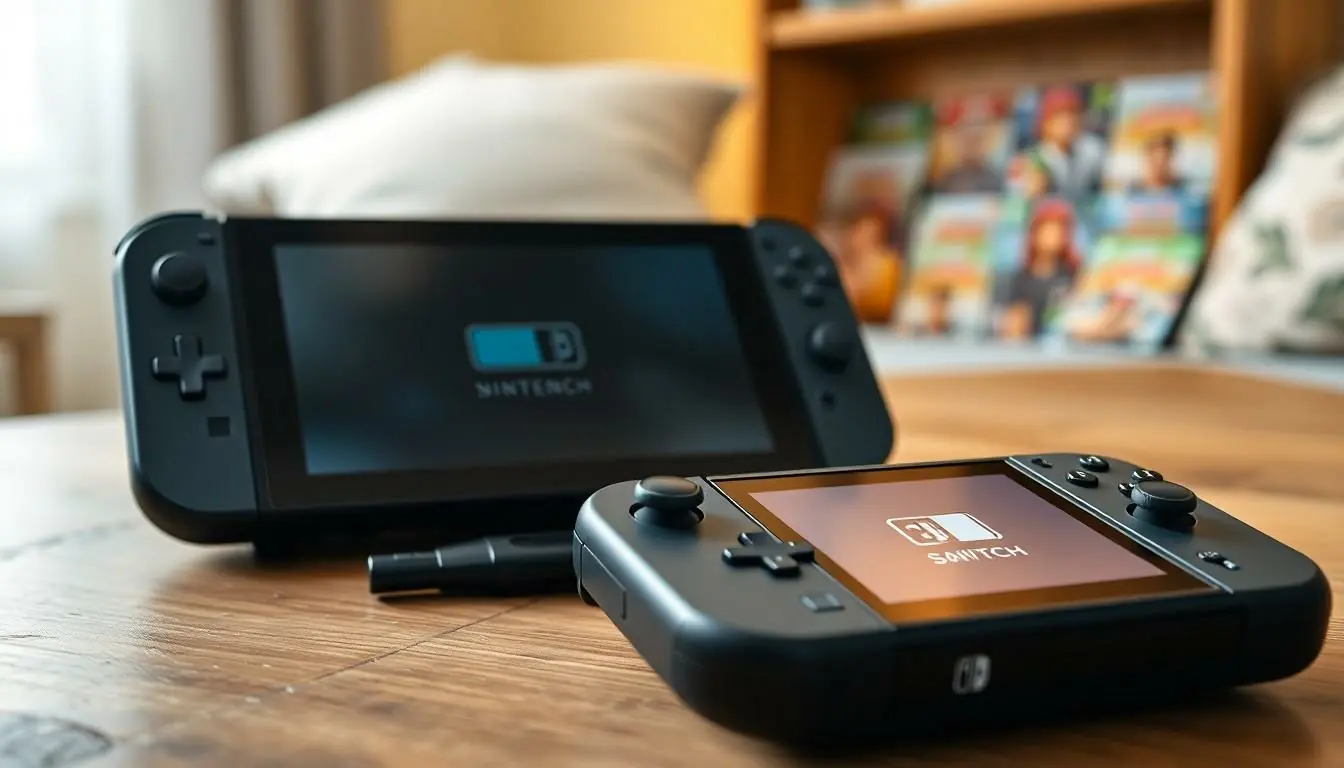
Joy-Con controllers are the most iconic. Each set contains two controllers, allowing versatile play styles, including tabletop and handheld modes. Pro Controllers offer a more traditional gaming experience. Weighing more and featuring ergonomic designs, they appeal to gamers seeking comfort during long sessions. Third-party controllers also exist. Brands like PowerA and Hori produce alternatives that often feature unique designs or specialized functions.
Features of Nintendo Switch Controllers
Controllers provide multiple features for diverse gaming needs. Motion controls enhance gameplay, allowing players to physically interact with the game. HD Rumble technology offers immersive tactile feedback. Players experience more realistic vibrations, enriching the overall experience. Wireless connectivity ensures ease of movement, eliminating the clutter of cords. Battery life typically ranges from 20 to 40 hours, depending on usage. Customization options allow players to remap buttons, tailoring controls to personal preferences.
Preparing to Sync Your Controller
Syncing a Nintendo Switch controller starts with proper preparation. Completing a few simple steps ensures a seamless connection.
Updating Your Nintendo Switch
Updating the Nintendo Switch enhances compatibility with controllers. Users find updates in the system settings, under “System.” Selecting “System Update” triggers the process. If an update is available, installing it requires a stable internet connection. Devices not updated may encounter syncing issues. Regularly checking for updates helps maintain controller performance and resolve bugs.
Checking Controller Battery Levels
Controller battery levels play a vital role in the syncing process. To check battery status, open the Nintendo Switch home screen and navigate to the “Controllers” option. A visual indicator displays the remaining charge for each connected controller. Low battery levels can lead to connection problems. Charging the controllers fully ensures a robust link to the console. Keeping track of battery status promotes uninterrupted gaming sessions.
Steps to Sync Nintendo Switch Controller
Syncing a Nintendo Switch controller is simple and can be done in a few steps. The process varies slightly depending on whether users prefer using the dock or syncing wirelessly.
Syncing with the Dock
Begin by placing the Nintendo Switch into its dock. Ensure that the console is powered on and the home screen is visible. Next, connect the controller using a USB cable. Users will see lights on the controller flash, indicating the device is connecting. When the lights stop flashing and remain on, the controller is synced successfully. This method provides a fast way to sync for users who prefer wired connections.
Syncing Wirelessly
To sync wirelessly, users should press the small pairing button located on the controller. Afterward, go to the system settings on the Nintendo Switch. From there, select “Controllers” followed by “Change Grip/Order.” The controller’s lights will flash during the syncing process. Once the connection is complete, a confirmation message will appear on the screen. This method suits those who prefer a clutter-free gaming space without wires.
Troubleshooting Sync Issues
Sync issues can disrupt gameplay. Identifying the source of the problem is essential for quick resolutions.
Common Problems and Solutions
Syncing problems often arise from battery issues or software updates. Low battery levels can prevent connection, so checking the controller’s charge is crucial. If the controller isn’t pairing, ensure the Nintendo Switch is up to date by accessing the system settings. Sometimes unresponsive controllers may require a simple disconnection and reconnection using a USB cable. Players facing frequent connectivity drops should consider reducing interference from other wireless devices. If these basic checks don’t resolve the issue, a reset might be necessary.
Resetting Your Controller
Resetting the controller often fixes persistent issues. Users can reset their Joy-Con or Pro Controller by pressing the small reset button located on the back. A paperclip or similar tool can assist in pressing this button. This action disconnects the controller, allowing for a fresh start when reconnecting. After resetting, follow the syncing instructions again to establish a new connection. If problems persist after a reset, further investigation into hardware issues may be warranted.
Conclusion
Syncing a Nintendo Switch controller doesn’t have to be a daunting task. With the right steps and a little patience, anyone can connect their controller and dive back into their favorite games. Whether opting for the Joy-Con or a Pro Controller, understanding the syncing process ensures a hassle-free gaming experience.
By keeping controllers charged and the system updated, players can avoid common pitfalls that disrupt gameplay. If syncing issues arise, troubleshooting methods are straightforward and effective. Embracing these tips not only enhances gameplay but also boosts confidence in handling gaming technology. Happy gaming awaits with a properly synced controller.


